Point Your Domain — DNS & AutoSSL
Connect yourshop.com to CoinWebHosting with nameservers or an A record, then wait for AutoSSL.
Open Hosting Portal → Opens your members area in a new tab
Step-by-step instructions
1 Log in to the hosting portal
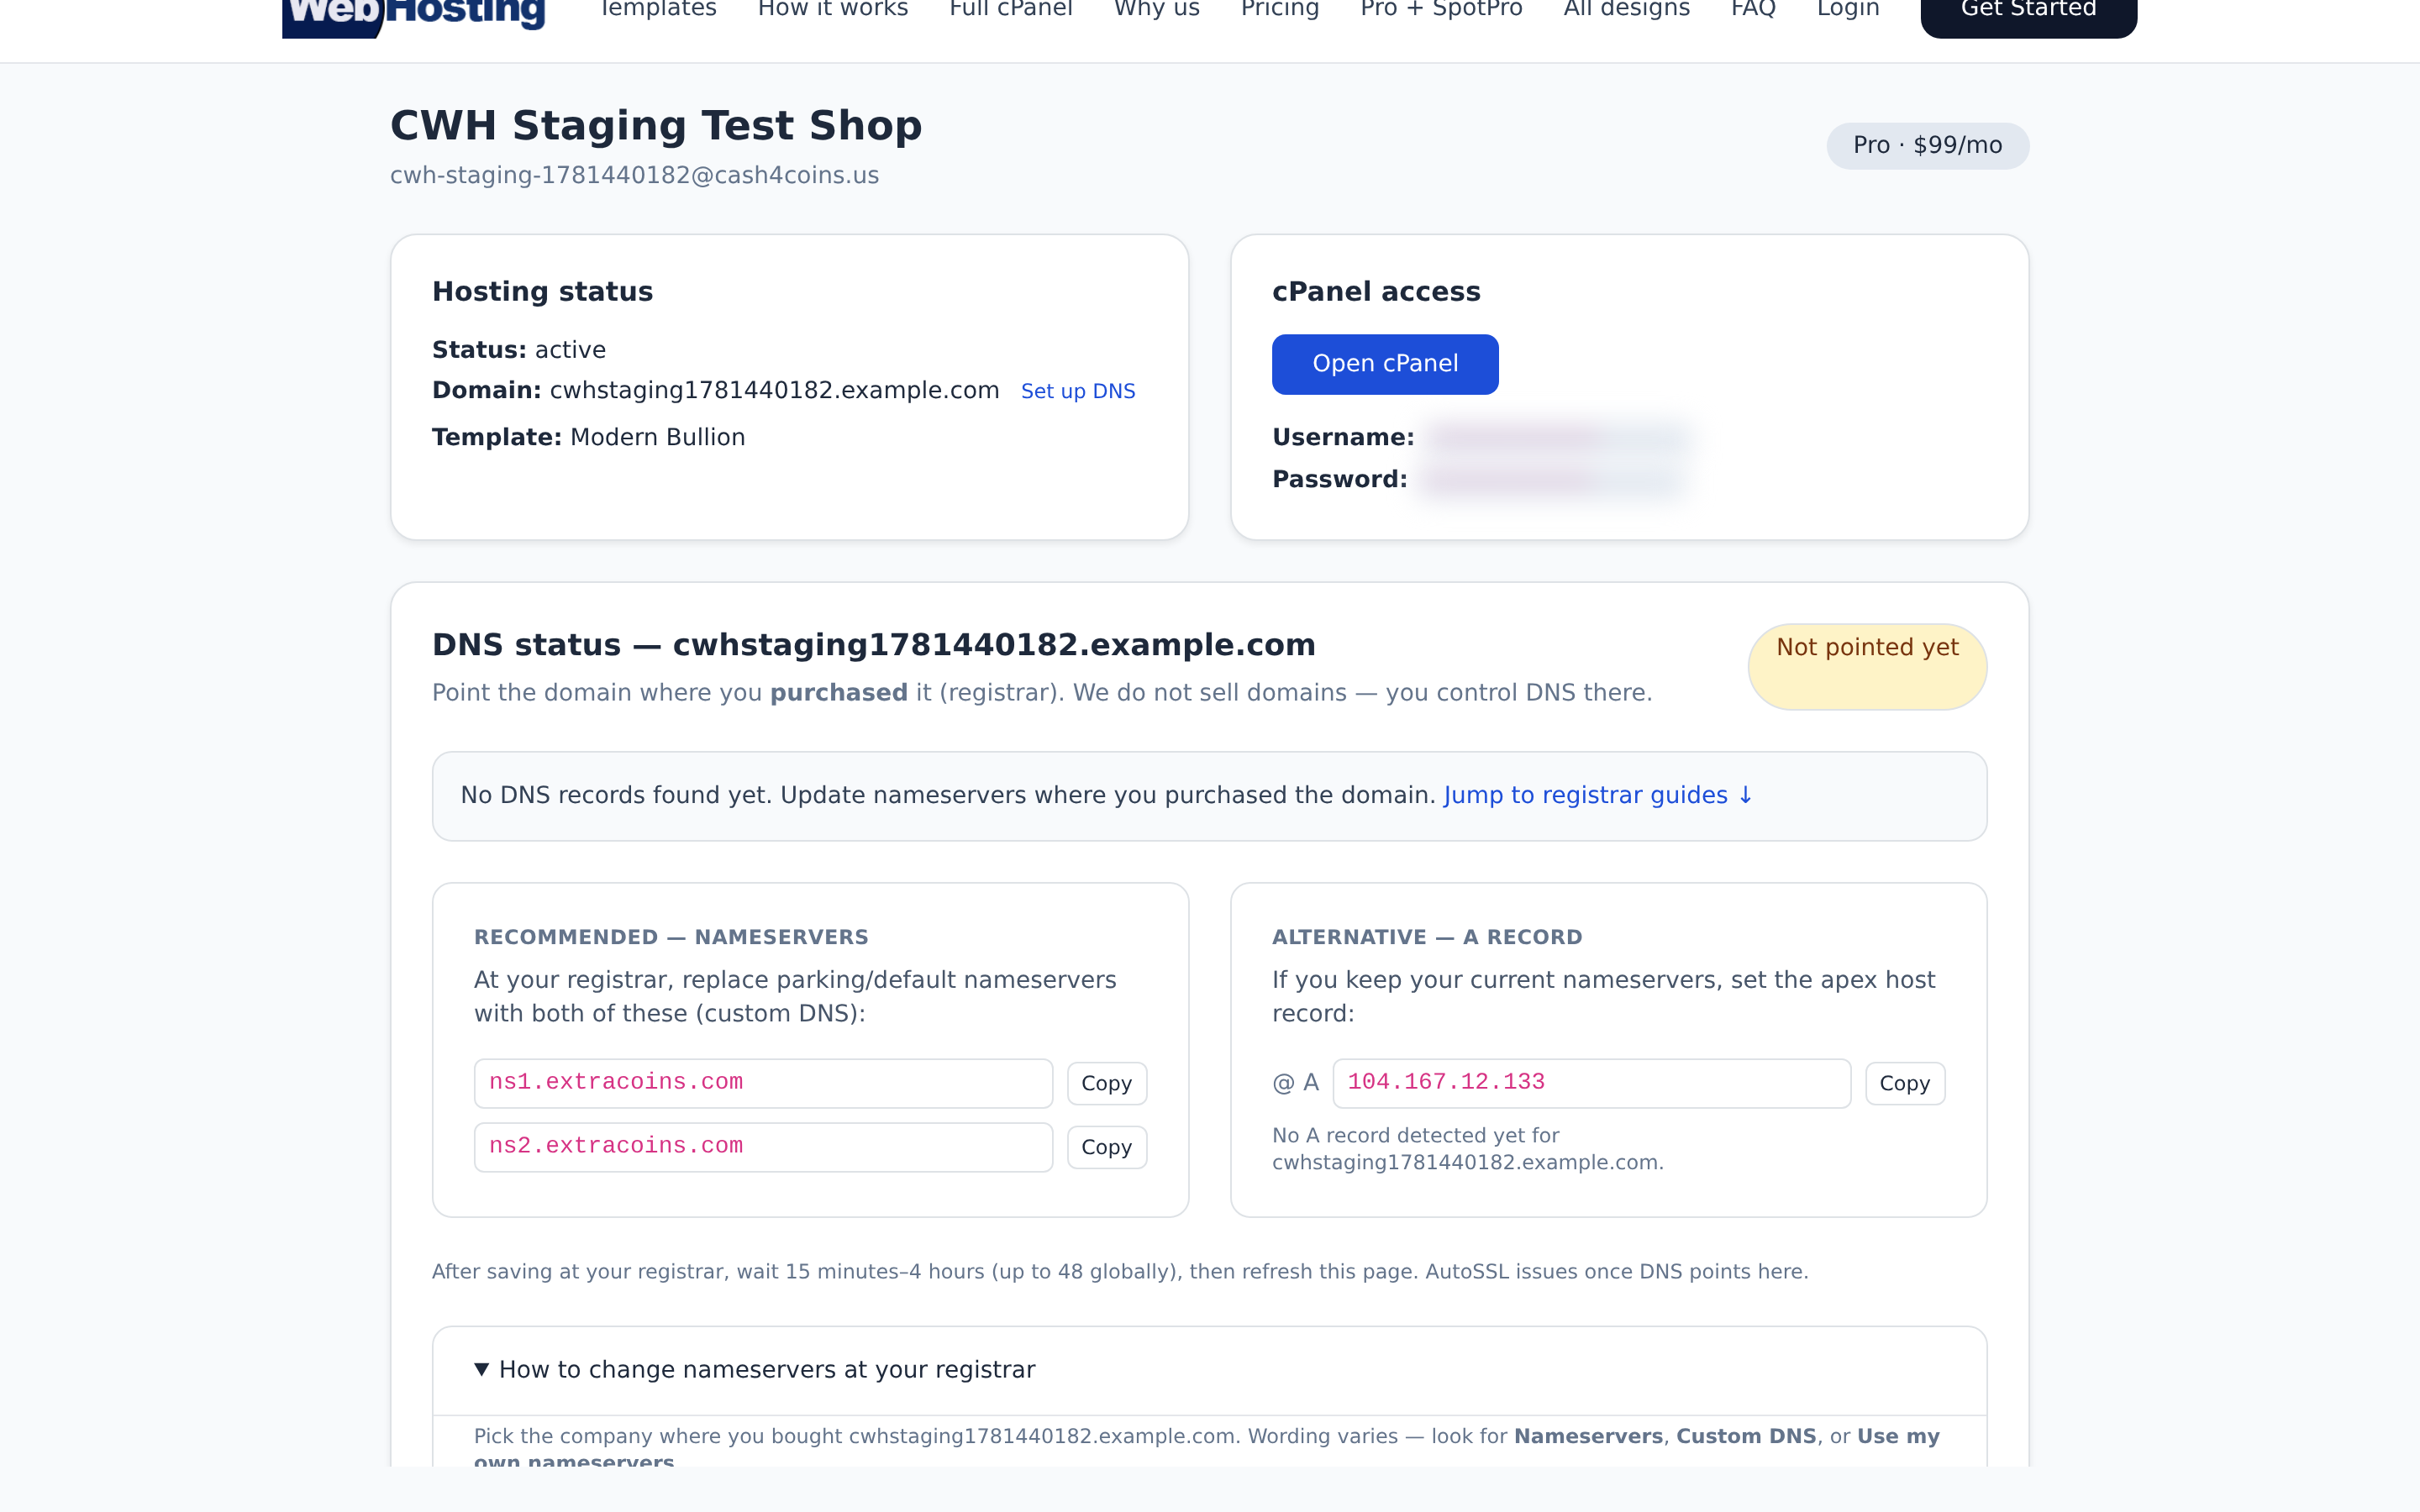
After signup, open the CoinWebHosting portal with the email and password you chose at checkout. You will see DNS instructions on the dashboard.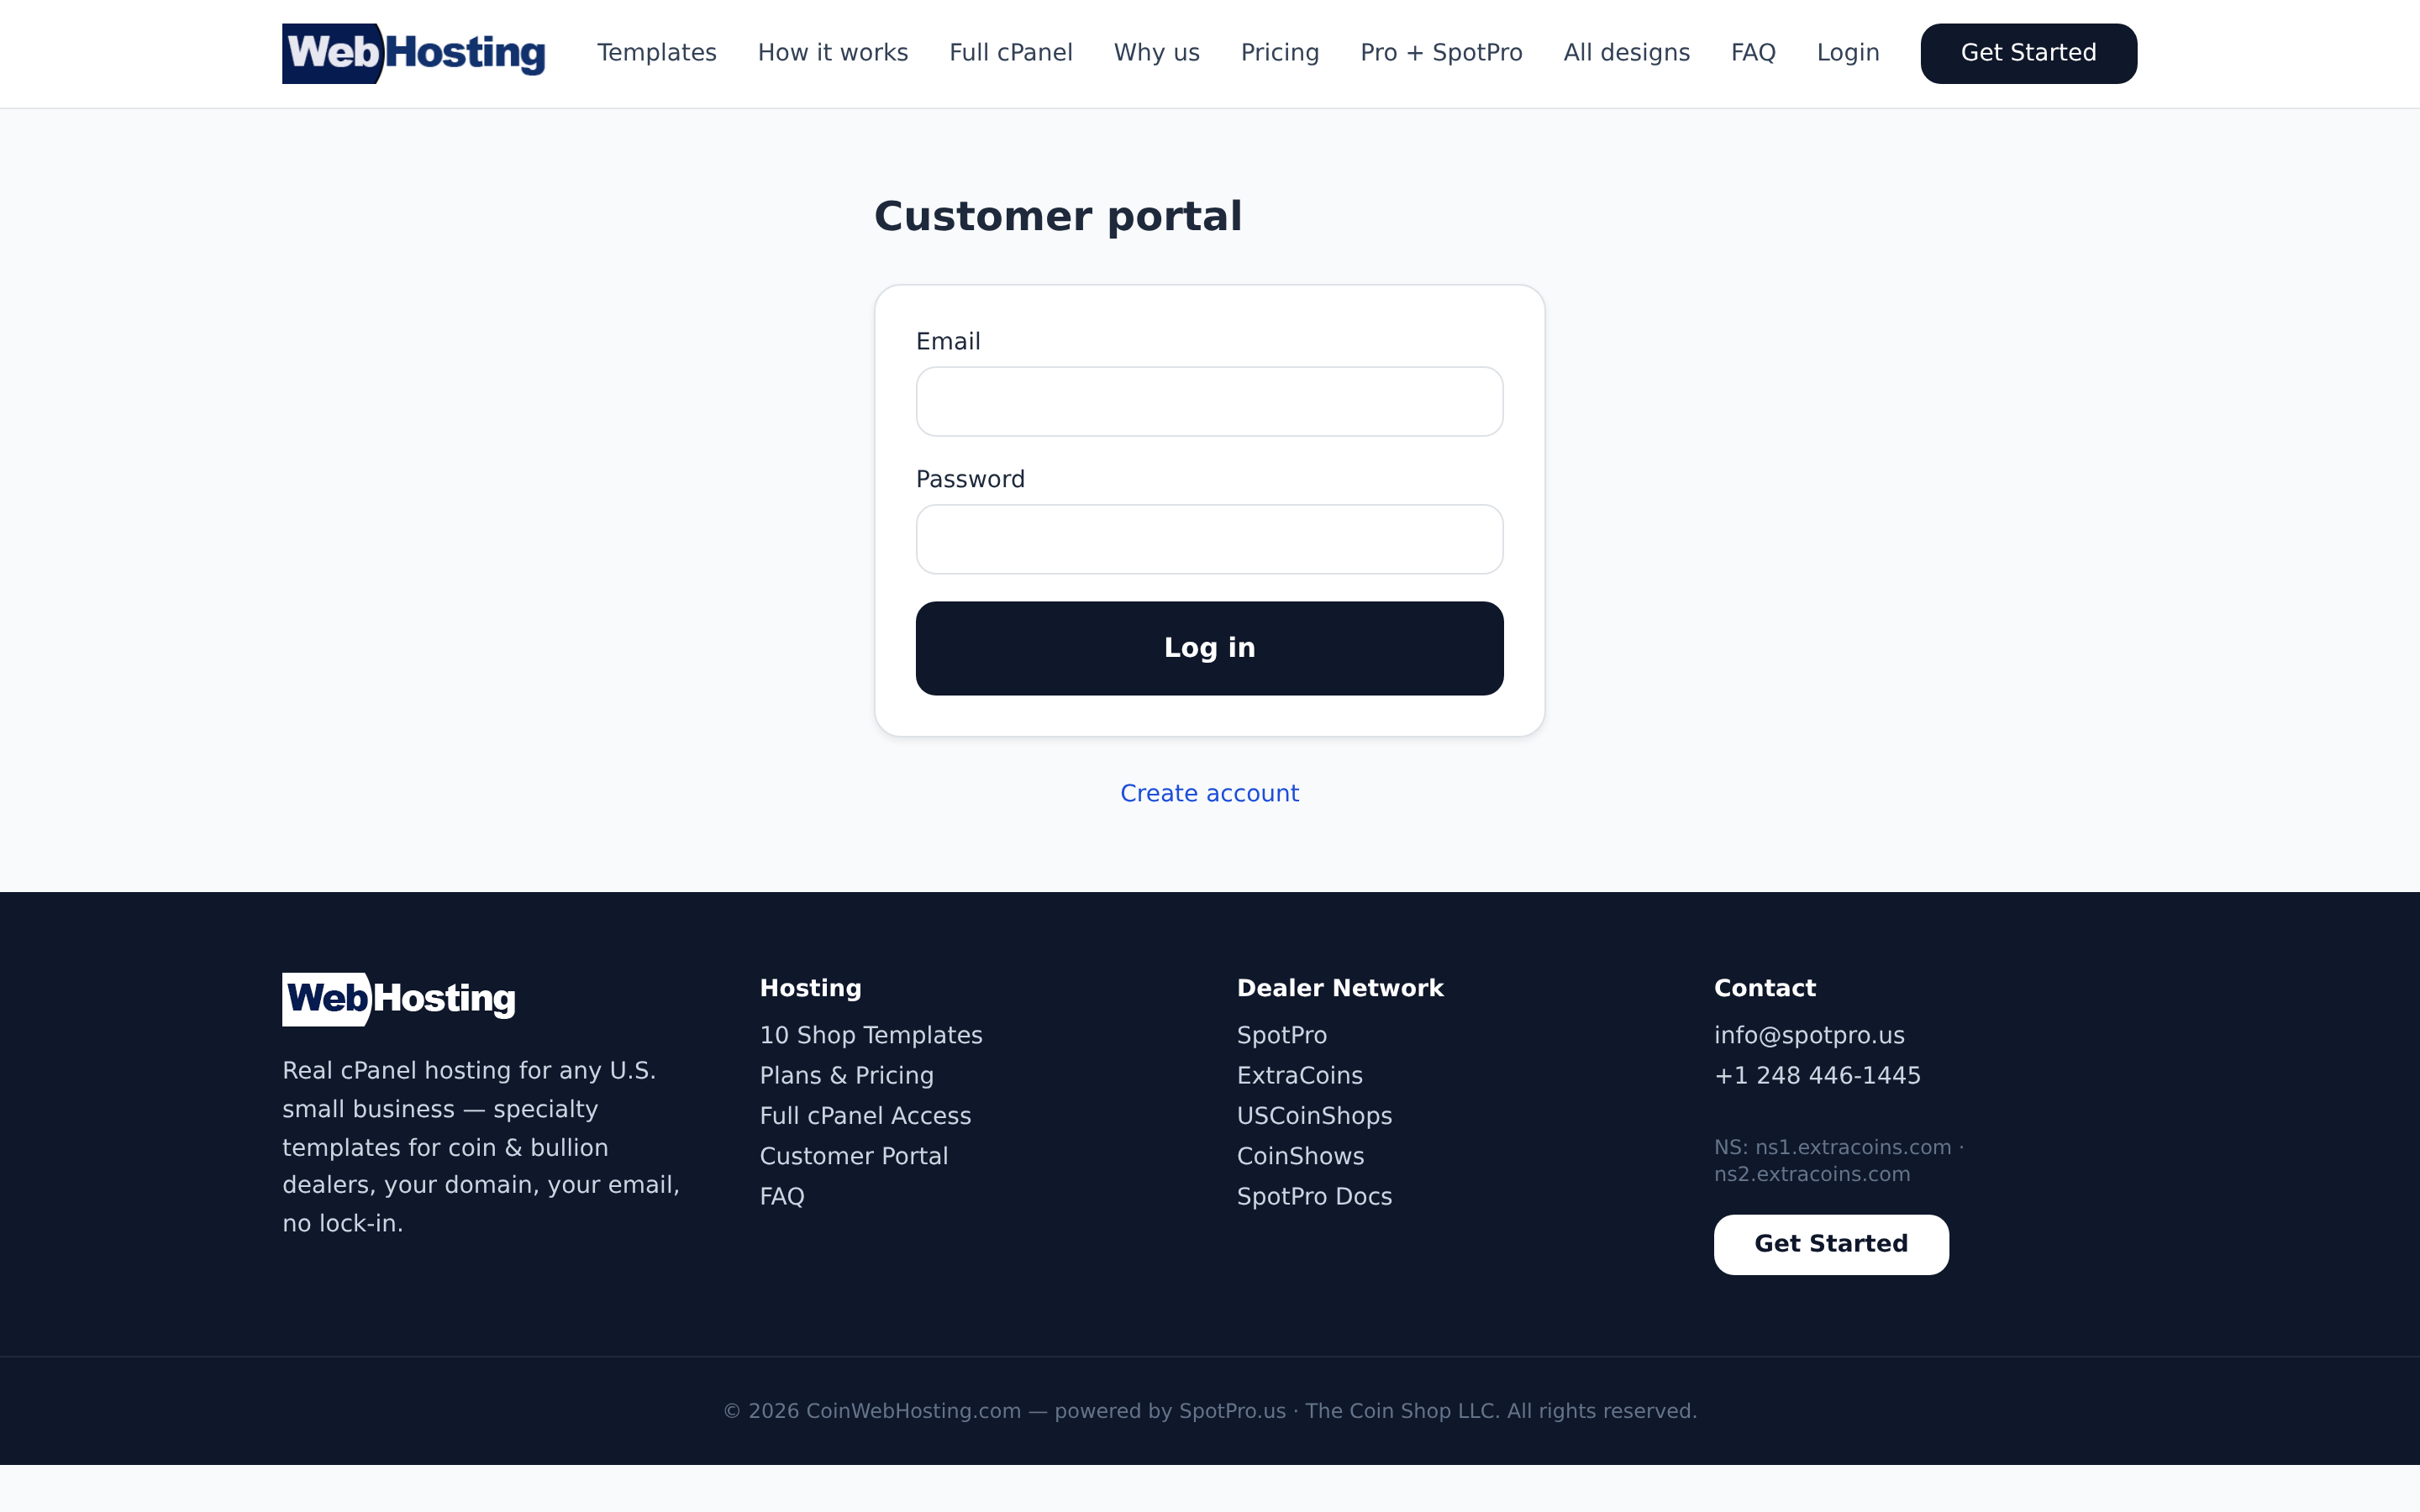
Portal login — same email as signup. 2 Option A — nameservers (recommended)
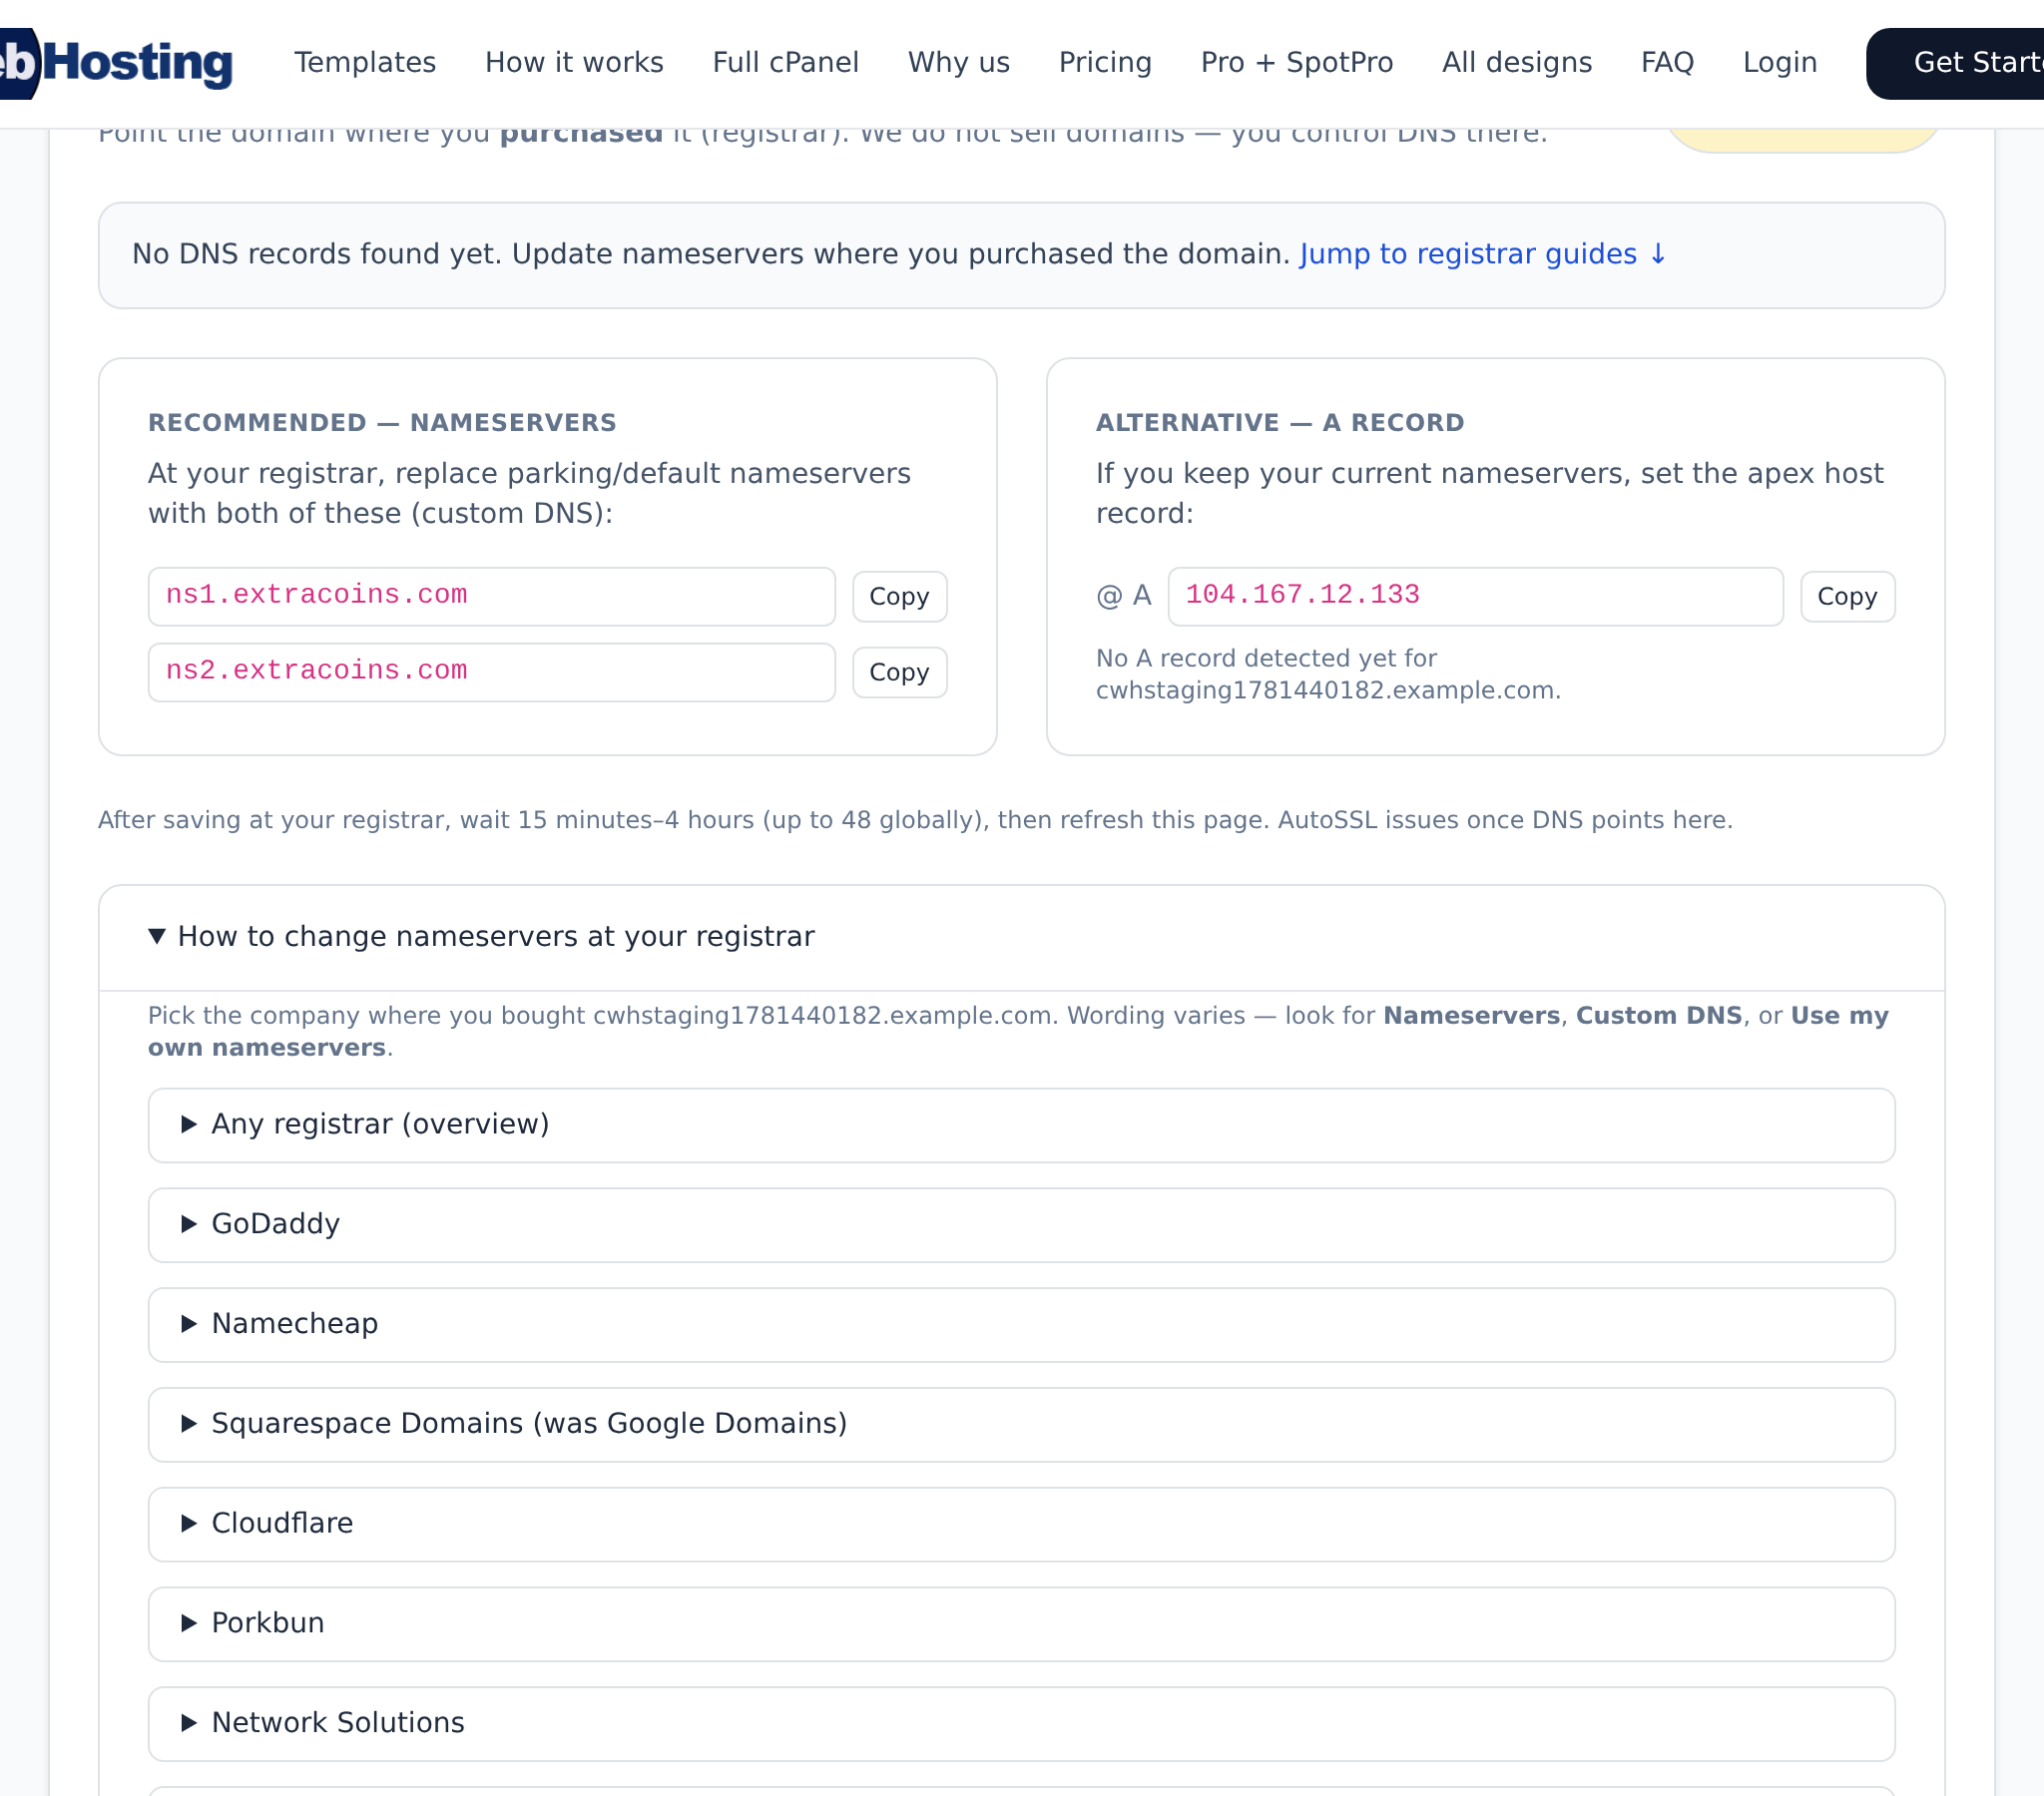
At your domain registrar (GoDaddy, Namecheap, Google Domains, etc.), set nameservers to ns1.extracoins.com and ns2.extracoins.com. The portal DNS section has copy buttons for these values.Nameserver values in the portal. 3 Option B — A record only
If you must keep existing nameservers, add an A record for@(andwwwif needed) pointing to the server IP shown in your portal. Mail may need separate MX records — contact support if unsure.4 Wait for propagation
DNS changes can take a few minutes to 48 hours. The portal updates status when your domain resolves here. Do not panic if it is not instant.5 AutoSSL
Once DNS points correctly, cPanel AutoSSL issues a free HTTPS certificate automatically. You do not need to buy SSL separately.6 Open cPanel
From the portal, click Open cPanel to manage files, email accounts, WordPress (WP Toolkit), and Node.js apps.
One-click cPanel from the portal.
Screenshots