Inventory Basics
Same as the overview — your catalog of coins, bullion, and collectibles.
Open Inventory → Opens your members area in a new tab
Step-by-step instructions
1 Understand inventory as your hub
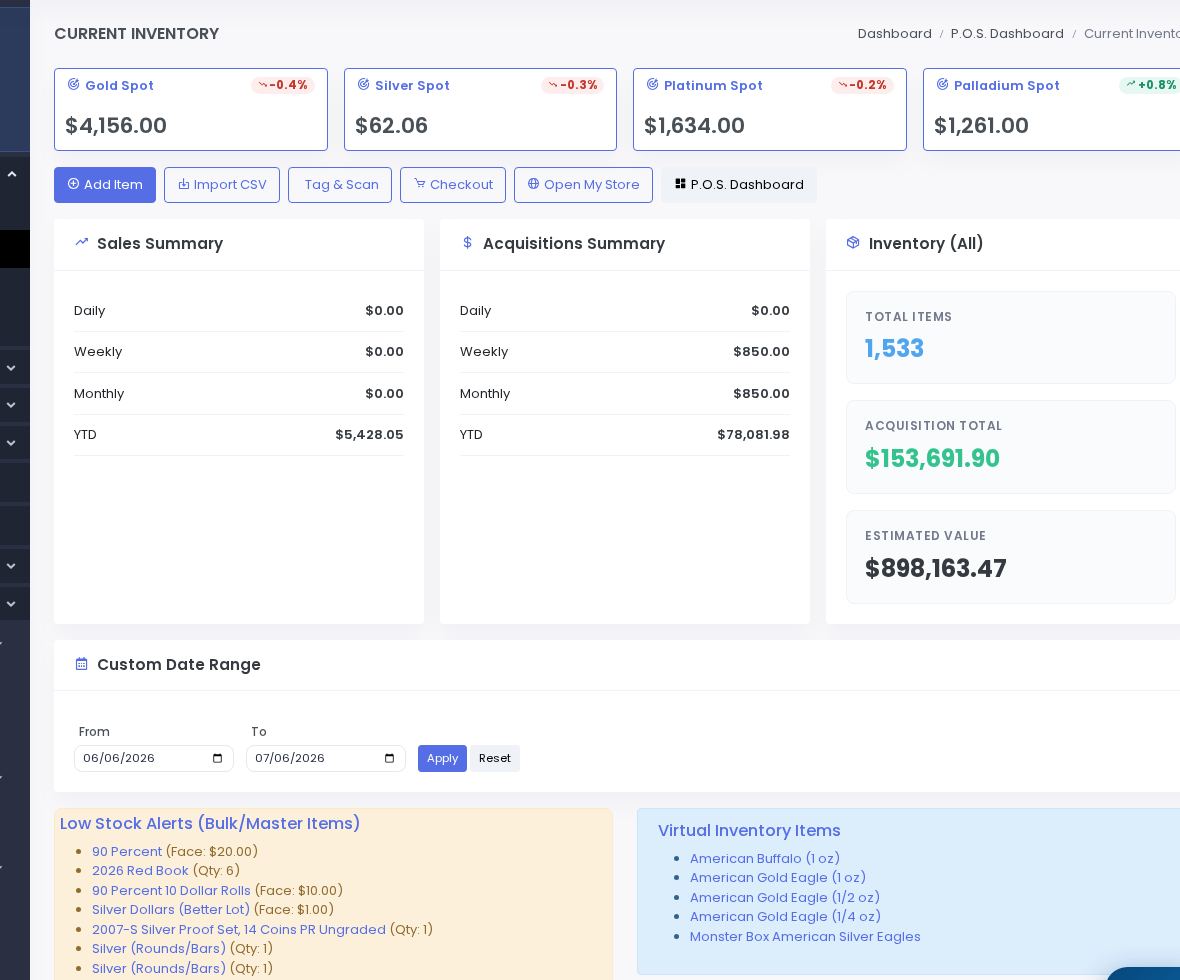
Every item you sell — in-store or online — lives in Inventory. NumisNexus stocks buys here. Sales Checkout sells from here. Your online store displays items marked web-visible. One catalog powers everything.2 Open the inventory list
In the left sidebar, click Point of Sale → Current Inventory. You will see a table with columns for title, price, quantity, category, and status.Current Inventory — your searchable catalog. 3 Search by keyword or barcode
Click the search box and type any keyword. You can also scan a barcode with your USB scanner while the search box is focused — the matching item highlights in the table.4 Filter by status
Use the status filter to show only Available items (in stock), Sold items (historical), or All. Most daily work uses the Available filter.5 Click any row to edit
Click an item row to open its detail page. From here you change price, photos, description, quantity, barcode, Greysheet link, and web visibility.6 Print labels for new items
After adding or stocking items, go to Point of Sale → Design Your Labels. Select items and print barcode labels for your display cases.7 How items enter inventory
Items arrive via: manual entry (New Inventory Item), NumisNexus stock purchases (Stock Purchases), CSV import (Import Inventory), or phone scanning (Tag & Scan).8 How items leave inventory
Quantity deducts automatically when you complete a sale in Sales Checkout or when a customer buys on your online store. Sold items remain in the list with status Sold for reporting.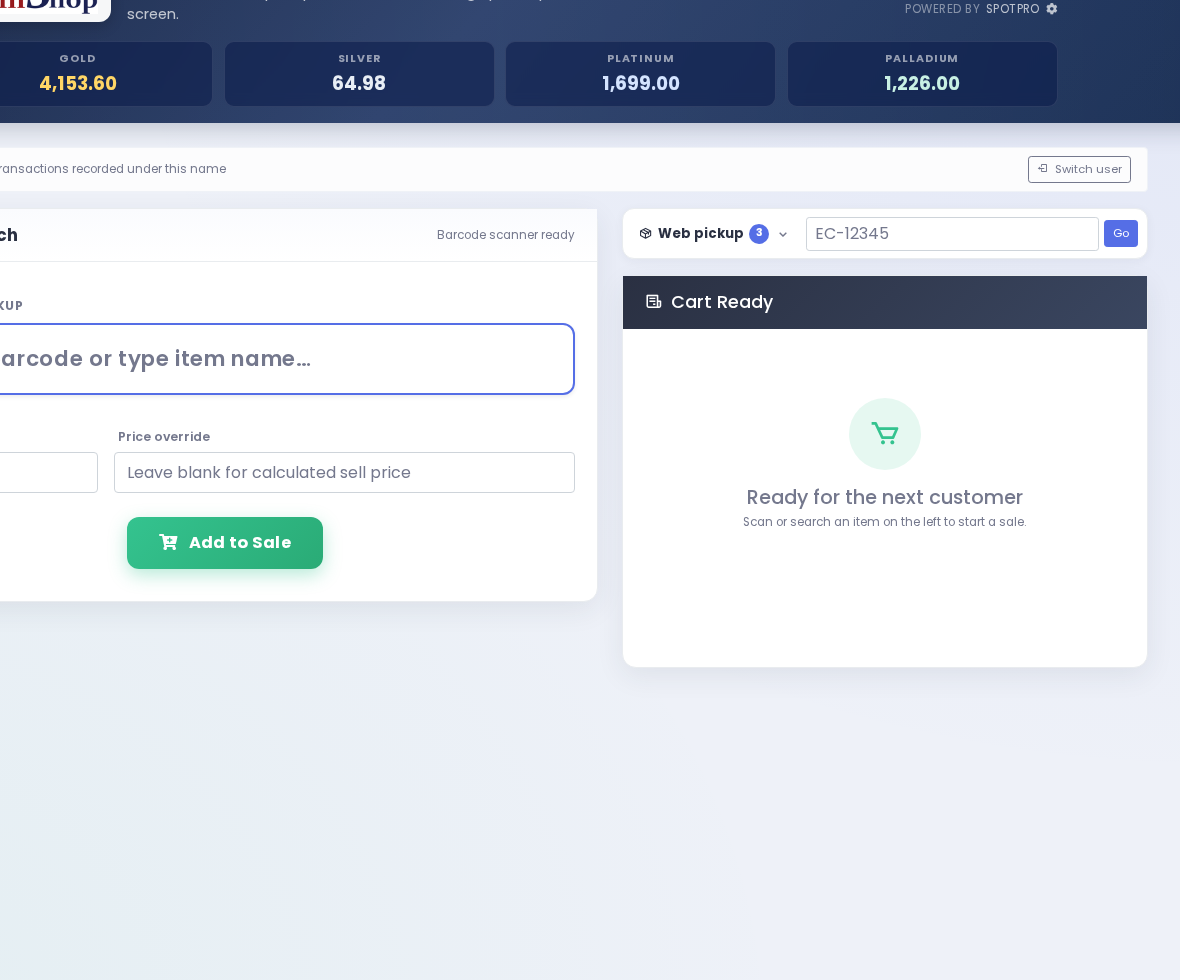
Completing a sale in checkout deducts inventory quantity.