Inventory Management Overview
Search, edit, price, and organize every coin and collectible in your shop.
Open Inventory → Opens your members area in a new tab
Step-by-step instructions
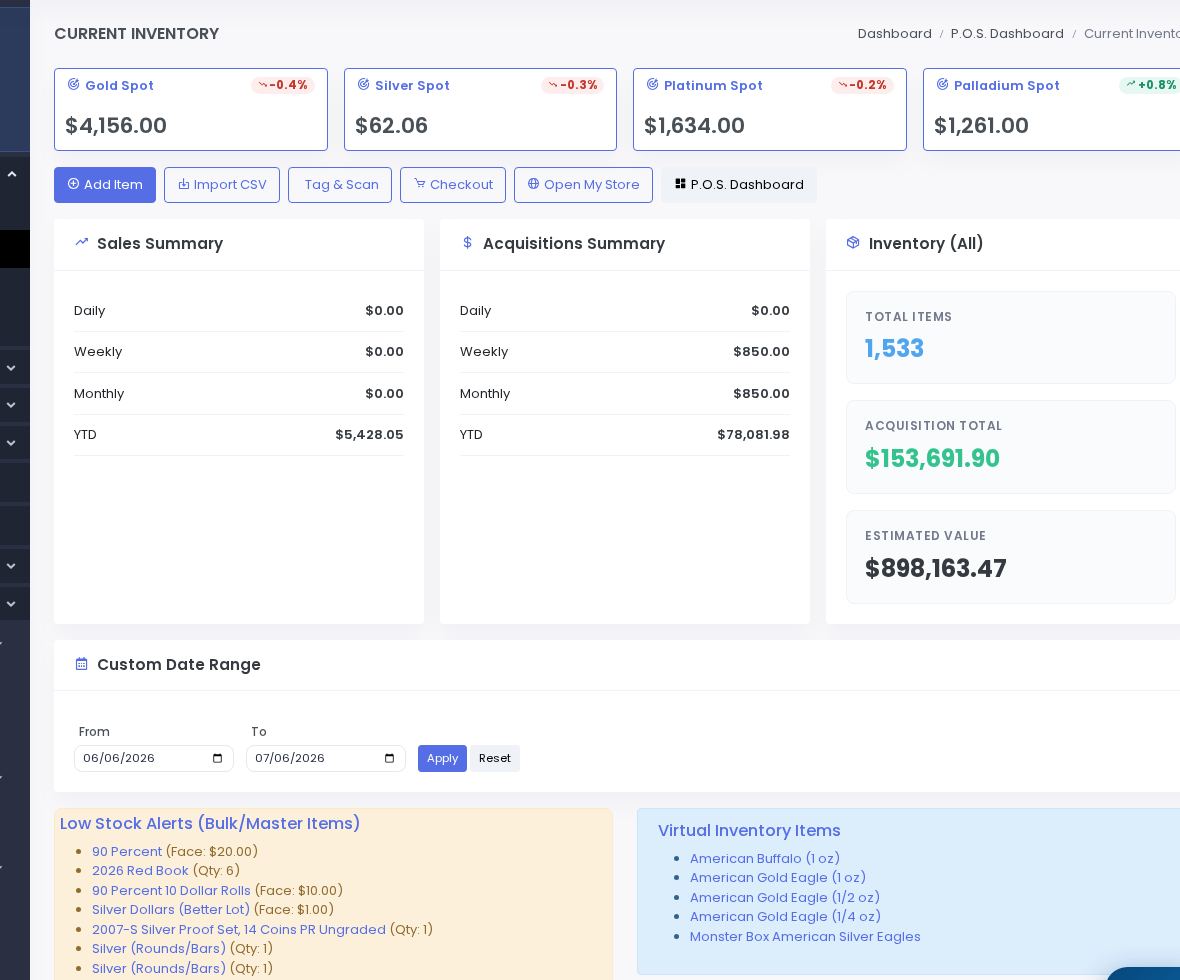
1 Open Current Inventory
In the left sidebar, click Point of Sale to expand the menu. Click Current Inventory. You will see a searchable table of every item in your shop.Point of Sale → Current Inventory. 2 Use the search bar
Click the search box at the top of the table. Type a keyword — year, denomination, certification number, or partial title. The table filters as you type. Press Enter or wait for results to refresh.3 Filter by category or status
Look for filter dropdowns above the table. Filter by Category (US coins, bullion, world, etc.), Status (available, sold, pending), or Price range. Combine filters to narrow a large catalog.4 Sort columns
Click any column header — Price, Date Added, Category — to sort ascending or descending. Click again to reverse the sort order.5 Click a row to open item details
Click any row in the table. The pro edit form opens where you can update description, photos, price, quantity, barcode, Greysheet link, category, and web visibility.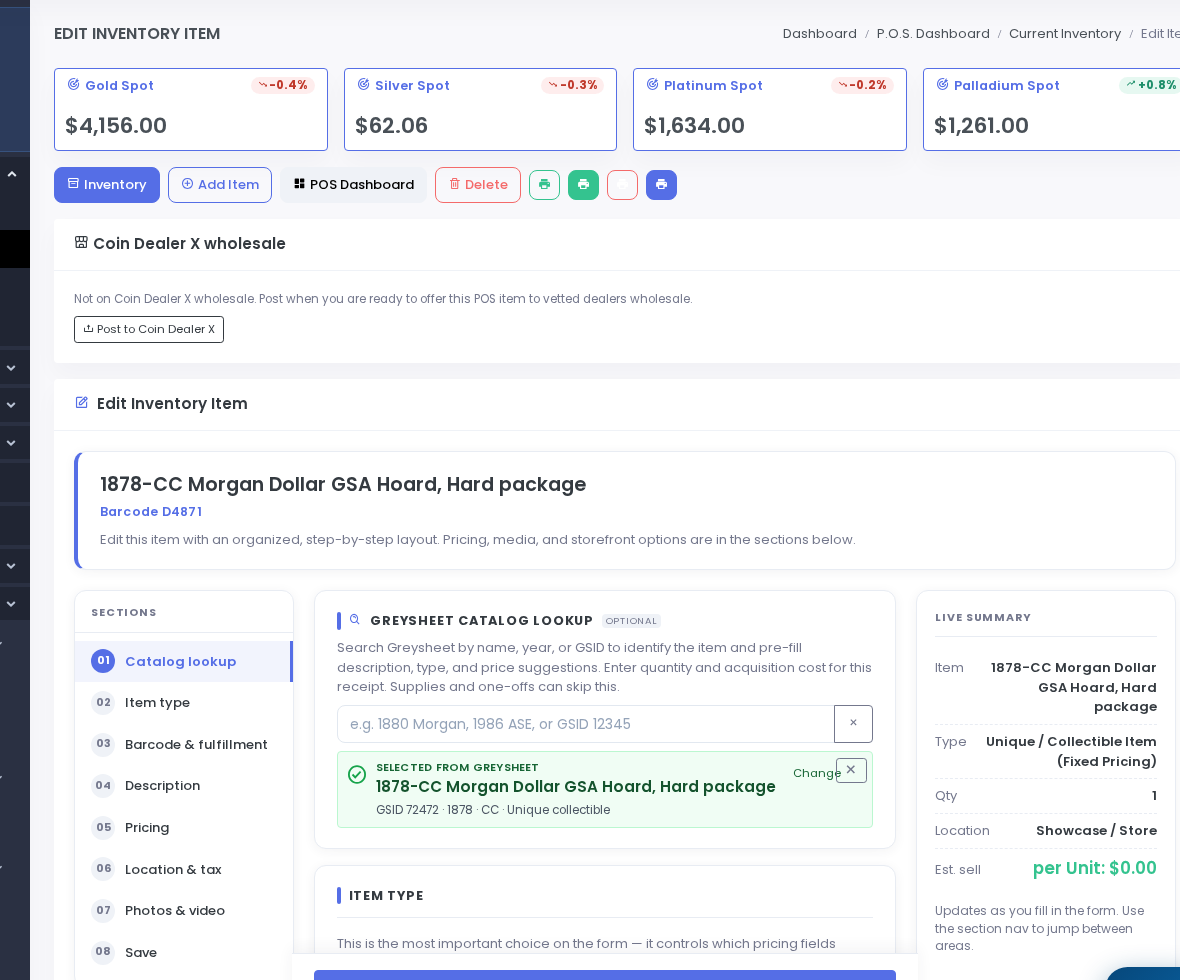
Edit Inventory Item — same pro layout as New Item. 6 Select multiple items
Check the checkbox on the left of each row you want to act on. Or click Select All at the top to select every item in the current filter. A bulk actions bar appears when items are selected.7 Run bulk actions
With items selected, click Bulk Actions in the toolbar. Choose Update Prices, Change Category, Print Labels, or Delete. Follow the prompts and confirm before applying.8 Add a new item
Click the + New Inventory Item button (top right) or use Point of Sale → New Inventory Item in the sidebar. See Add an Inventory Item for the full walkthrough. For catalog product lines (mint sets, proof singles, ASE), use Inventory Quick Add instead — much faster.9 Understand the inventory loop
Items enter inventory from manual entry, Inventory Quick Add (catalog product lines), NumisNexus stock purchases, CSV import, or Tag & Scan. They exit when sold in Sales Checkout or on your online store. Every sale deducts quantity here automatically.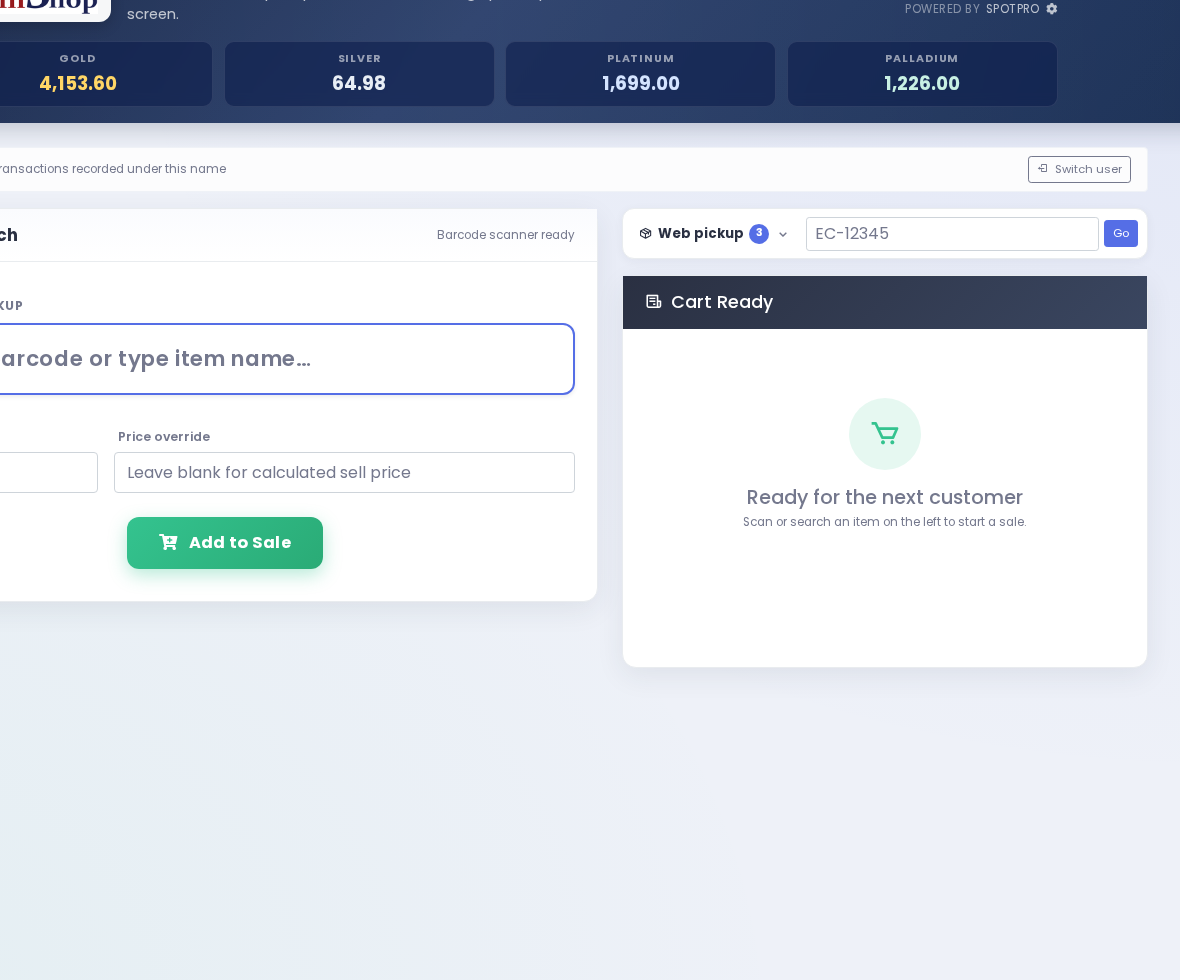
Sales Checkout pulls from this inventory list.
Screenshots