Payment Methods in POS
Enable cash, check, card, and other tender types your staff can select at checkout.
Open POS Configuration → Opens your members area in a new tab
Step-by-step instructions
1 Open POS Config
In the left sidebar, click Configuration → Point of Sale Config.2 Find the Payment Methods section
Scroll down to Payment Methods. You will see toggle switches or checkboxes for each tender type your register can accept.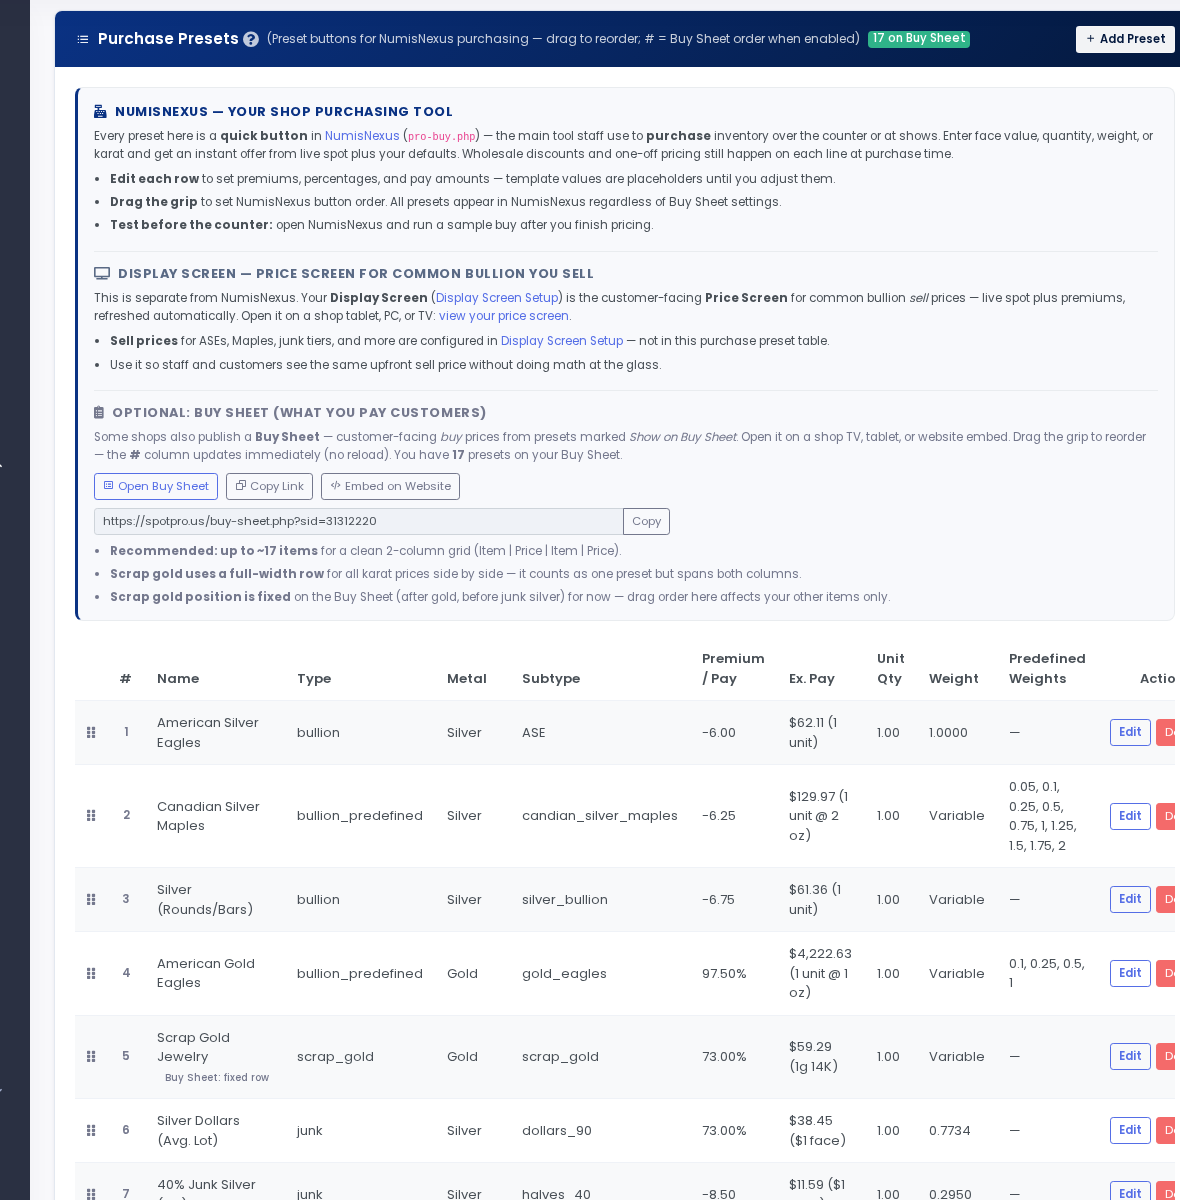
Payment Methods section in POS Config. 3 Enable Cash
Turn on Cash if you accept cash at the counter. This is the most common default for coin shops.4 Enable Check
Turn on Check if you accept personal or business checks for in-store sales and shop buys.5 Enable Credit/Debit
Turn on Credit/Debit for card payments at the register. In-store card processing uses your countertop terminal or manual entry — separate from your online store gateway in Company Profile.6 Enable custom tender types
If you accept wire transfers, PayPal in-store, store credit, or trade, turn on any custom methods shown. Add labels your staff will recognize at checkout.7 Set the default payment method
In the dropdown labeled default payment method, choose which tender type is pre-selected when checkout opens — usually Cash or Card depending on your shop workflow.8 Click Save
Click Save at the bottom of the Payment Methods section. Wait for the green confirmation.9 Match online processors in Company Profile
For web orders, open Configuration → Company Profile and scroll to Online payments. Enter your Authorize.Net or CARDZ3N credentials there. POS in-store methods and web card processing are configured separately but share the same shop account.10 Test at checkout
Open Apps → Sales Checkout, add any item, and click finalize. You will see buttons for each enabled payment method. Select one and confirm the payment panel behaves as expected.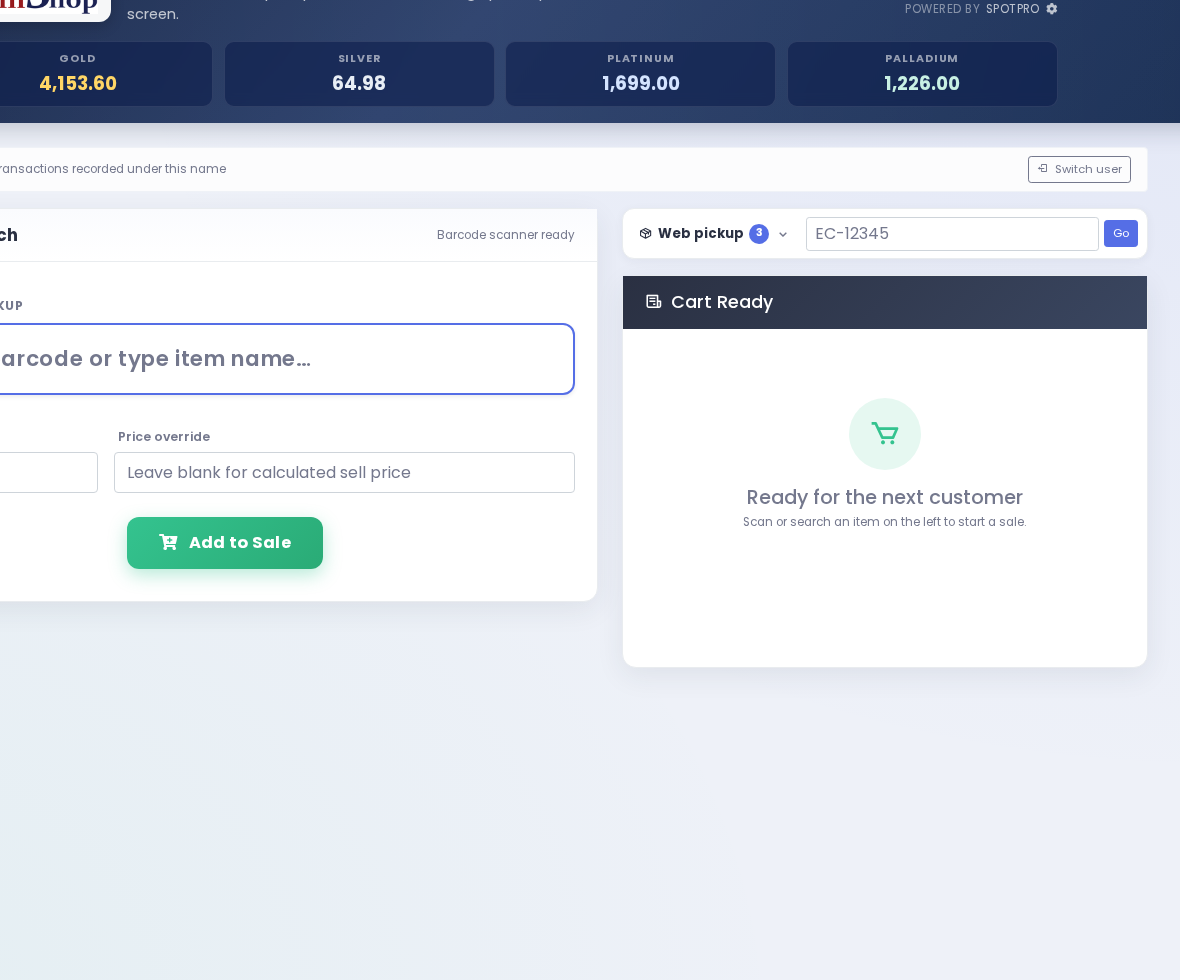
Enabled payment methods appear in the finalize panel.