Sales Reports
Daily totals, tax summaries, and item-level sales history.
Open Reports → Opens your members area in a new tab
Step-by-step instructions
1 Open P.O.S. Reports
In the left sidebar, click Point of Sale → P.O.S. Reports. The reports page loads with date range controls and report type options.2 Pick a date range
Click a preset button — Today, This Week, This Month, or Last Month. Or click the custom date fields and type a start date and end date manually.3 Select Sales Summary
Click Sales Summary from the report type list. Click Run Report or Generate. You will see total sales, number of transactions, and average ticket for the date range.4 Run a Tax report
Select Tax from the report types. Click Generate. The report shows tax collected by period — use this for your sales tax filing. Export to CSV for your accountant.5 Run Items Sold report
Select Items Sold. This lists every item sold in the date range with quantity, price, and date. Useful for identifying your best sellers and slow movers.6 Run Staff Activity report
Select Staff Activity to see sales and buys attributed to each employee. Compare counter staff performance and verify PIN usage.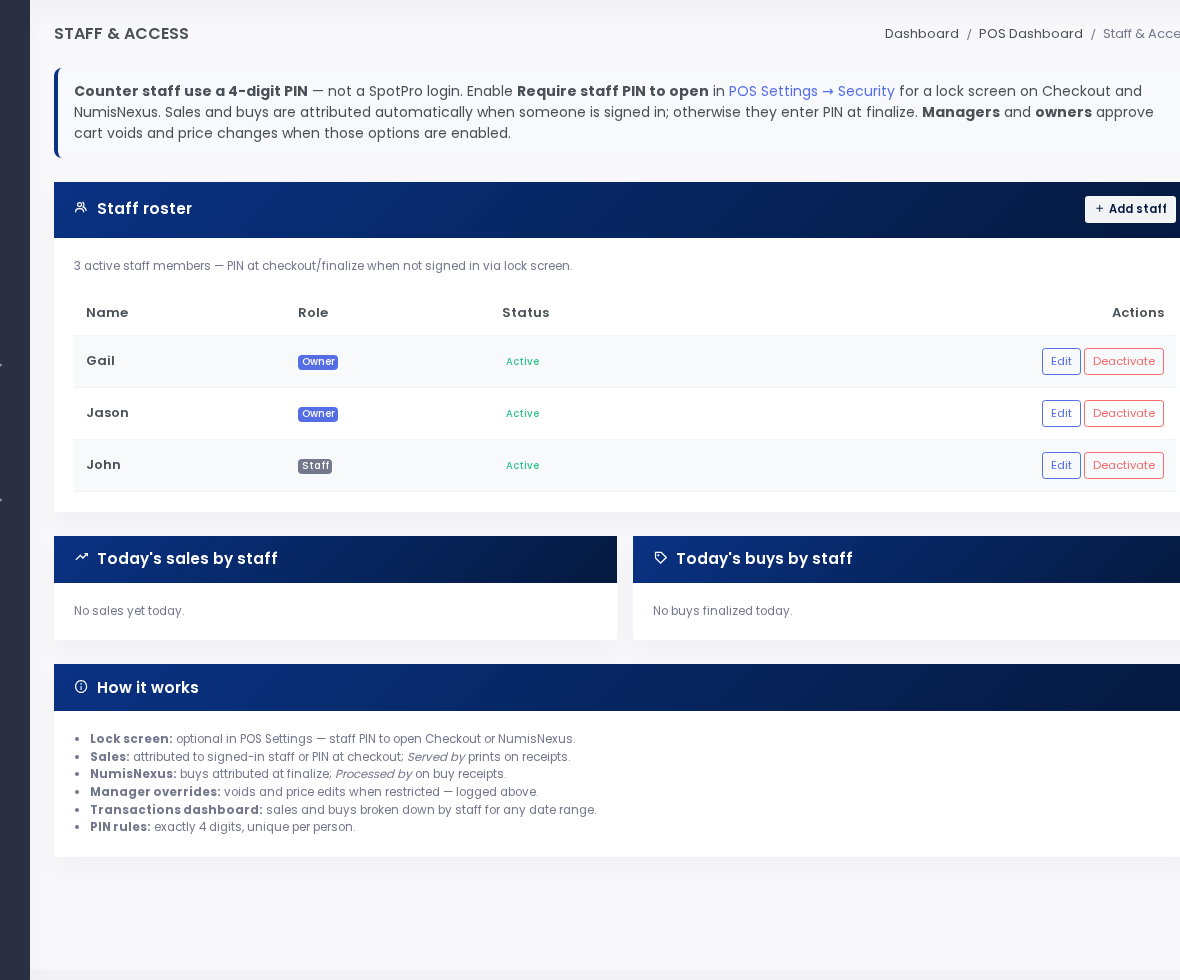
Staff attribution requires PIN logins at checkout. 7 Check the POS Dashboard for quick totals
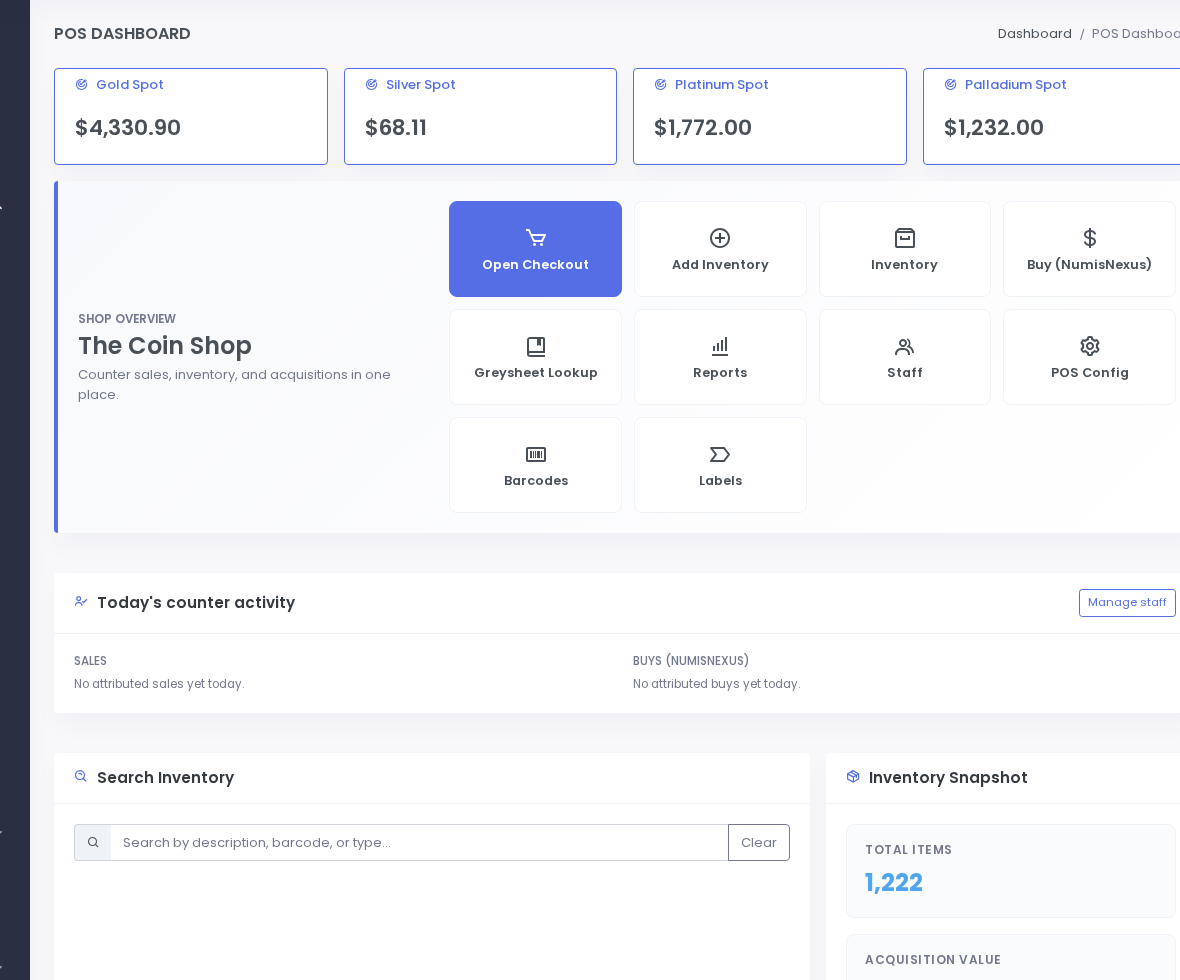
For a fast morning glance without running a full report, open Point of Sale → P.O.S. Dashboard. The top cards show today's sales, today's buys, and inventory value.Dashboard cards refresh when you load the page. 8 View individual transactions
For line-by-line detail, open Point of Sale → Transactions (opens in a new tab). Filter by date and type (sales or buys). Click any transaction to see full line items.9 Export to CSV
On any report result page, click Export CSV in the top right. Save the file to your computer and open it in Excel or send it to your bookkeeper.10 Run reports on a schedule
Most shops run a Sales Summary every Friday and a Tax report monthly. Export CSV and file with your accounting records. Bookmark the Reports page for quick access.
Screenshots