Selling with NumisNexus
Ring up sales, apply discounts, and finalize transactions from the NumisNexus register.
Open NumisNexus → Opens your members area in a new tab
Step-by-step instructions
1 Know when to use Sales Checkout vs NumisNexus
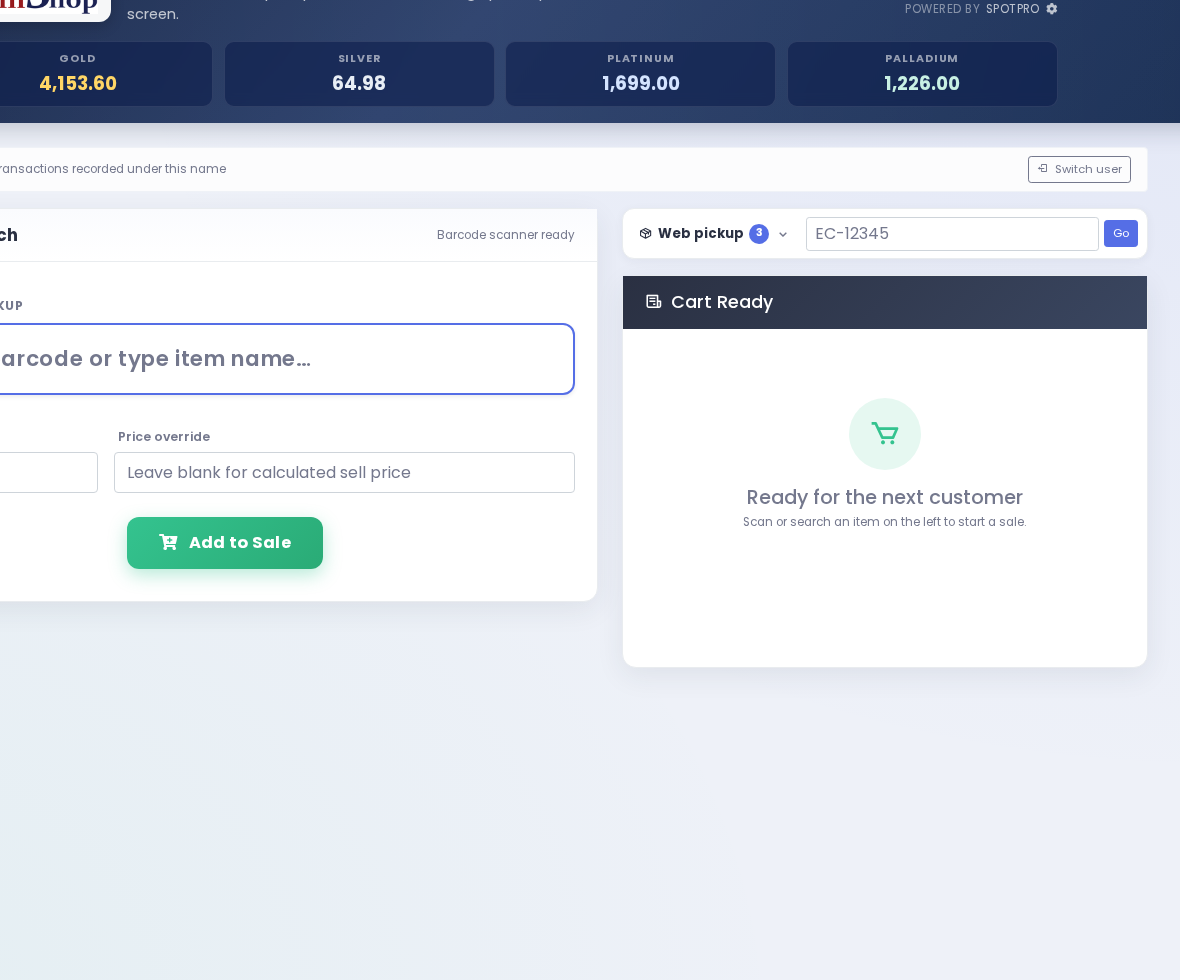
Use Sales Checkout for barcode-driven retail sales. NumisNexus is primarily your buy tool, but some shops also sell from it when working with preset-based pricing. For standard inventory sales, prefer Sales Checkout.2 Open NumisNexus
In the left sidebar, click Apps → NumisNexus. The register loads in a new tab with live spot chips at the top and preset buttons below.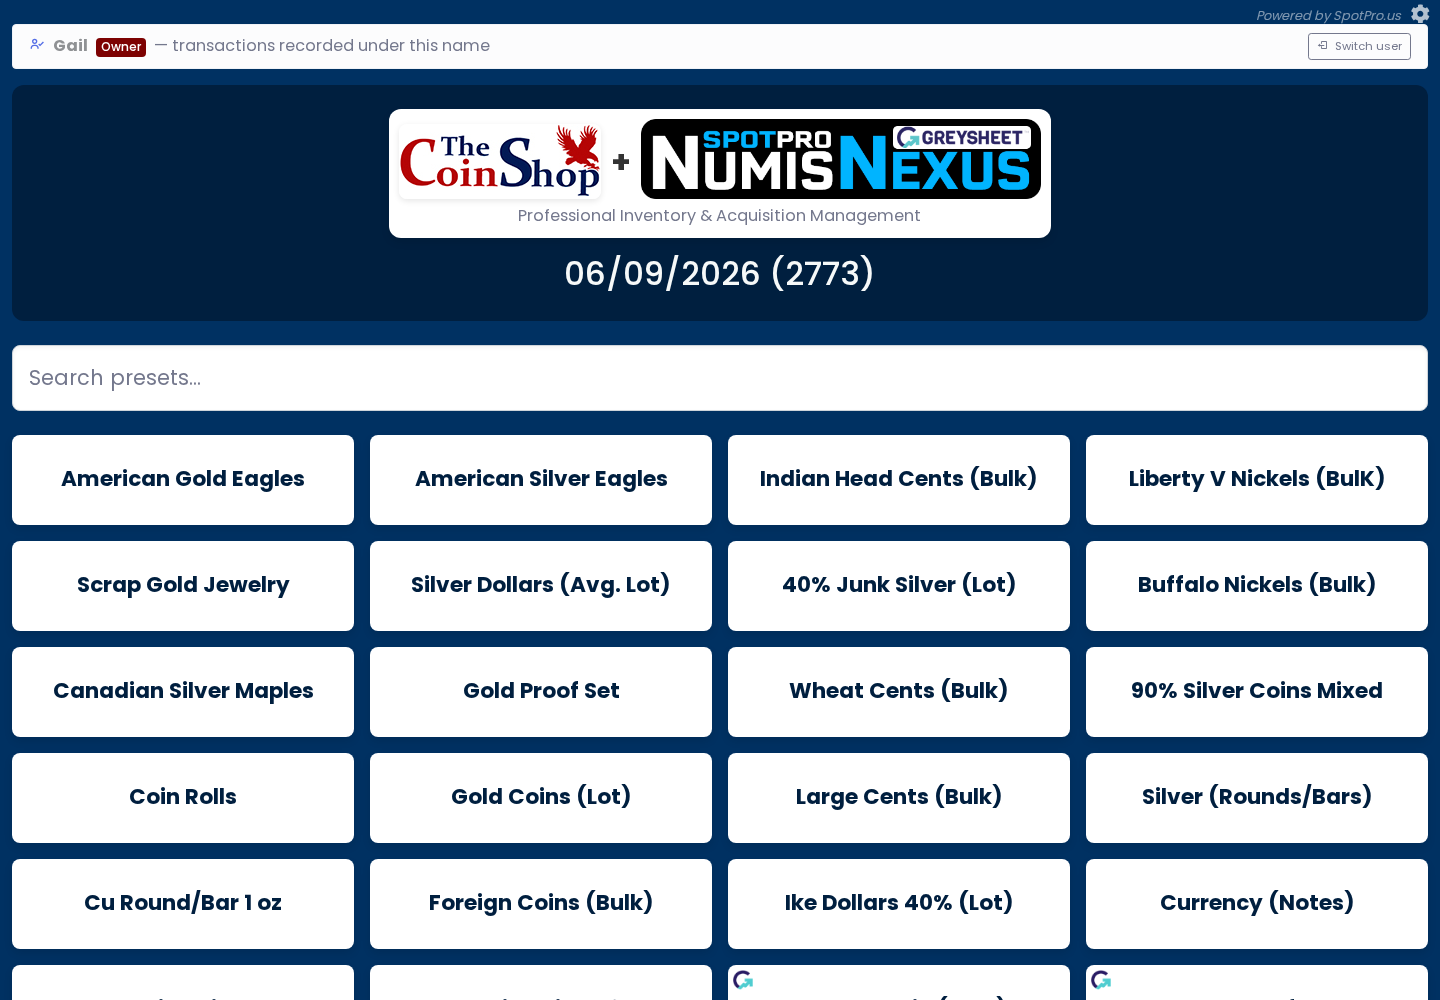
NumisNexus opens with spot prices and preset buttons. 3 Switch to Sell mode (if applicable)
If your register shows a Buy / Sell toggle at the top, click Sell. The screen changes to show inventory search instead of purchase presets.4 Search for an inventory item
Click the search bar. Type a keyword, certification number, or scan a barcode. Matching inventory items appear in a dropdown list below the search box.5 Add the item to the cart
Click a search result to add it to the cart on the right. You will see the item title, quantity (usually 1), and retail price on the line.6 Adjust price for this sale
Click the price on any line item. Type a new amount in the box that appears — this override applies only to the current sale. Your inventory record keeps the original price.7 Add more items
Search and click additional items. Each appears as a new line in the cart. Review the running subtotal at the bottom of the cart panel.8 Click Finalize Sale
Click the Finalize Sale button. The payment panel opens showing subtotal, tax, and total due.9 Complete payment
Select Cash, Check, or Card. Enter amount tendered for cash sales. Click Complete Sale. Inventory deducts and the cart clears.Payment panel — select tender type and complete.