Counter Sell Price Tools — Which One to Use?
Price Check, Greysheet Lookup, Staff Quick Cart, and Sales Checkout — four tools, four jobs at the counter.

Step-by-step instructions
1 Start with barcodes on your inventory
Most counter sell lookups use the barcode on your label. Print labels from Point of Sale → Design Your Labels or Tag Barcode Sheets + Tag & Scan for bin items. USB scanners at the register work in Sales Checkout; phone cameras work in Price Check and Staff Quick Cart.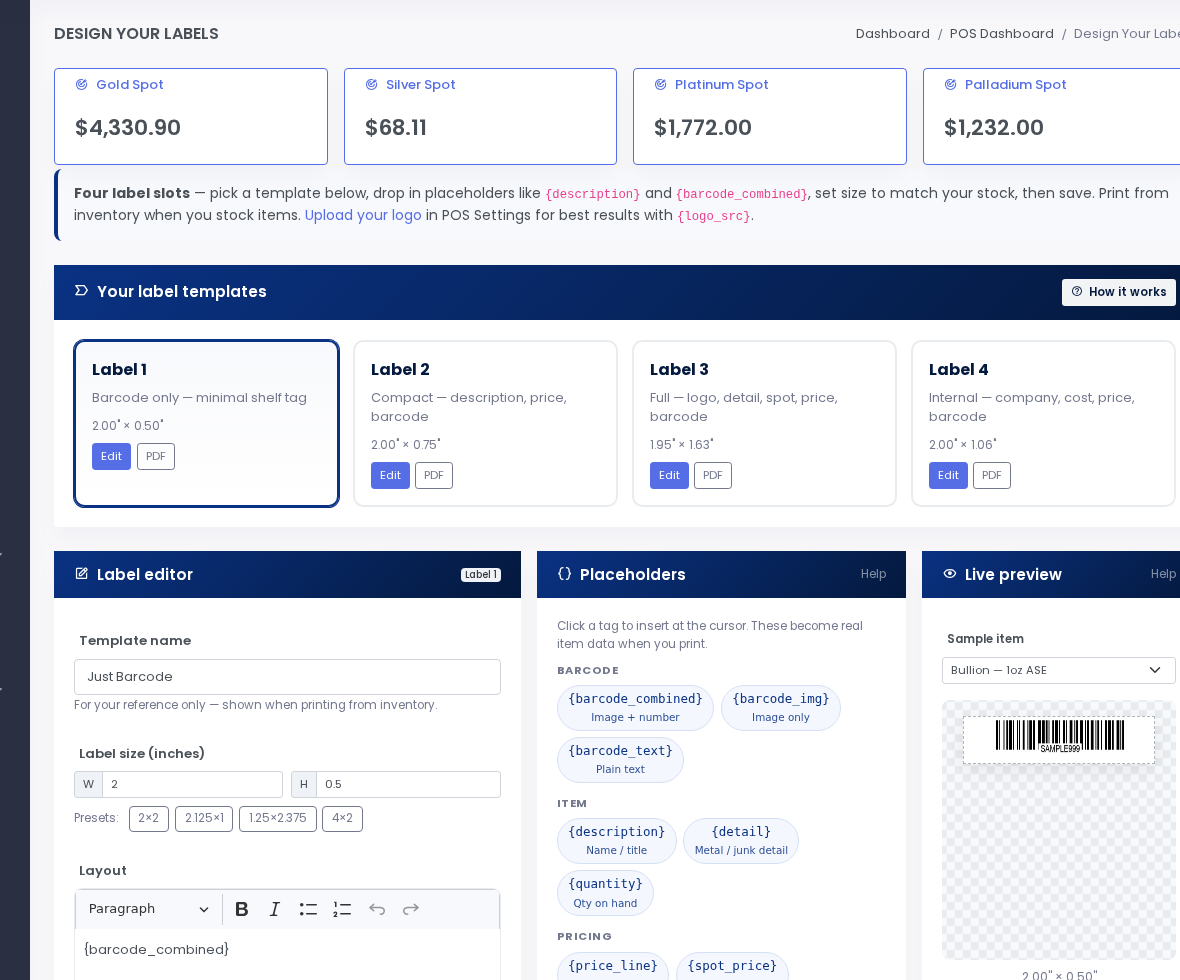
Labeled inventory — scan the same code everywhere. 2 Customer asks “what’s your price?” — use Price Check
When a shopper wants a sell price on one item (no sale yet), use Price Check. Set up a customer QR under Apps → Price Check QR, print the sign, or open pos-price-check on a tablet. Scan or type the barcode — live sell price appears with optional spot badges. No login for customers when they scan your QR.3 Collectible guide values — use Greysheet Lookup
When the item is not in your inventory (raw coin, slab you have not stocked, “what would you pay?”), use Apps → Greysheet Lookup. Search year, mint, and series from the holder — bid, ask, and suggested buy/sell from your presets. This is not the same as scanning a shop barcode. See Coin Price Lookup at the Counter.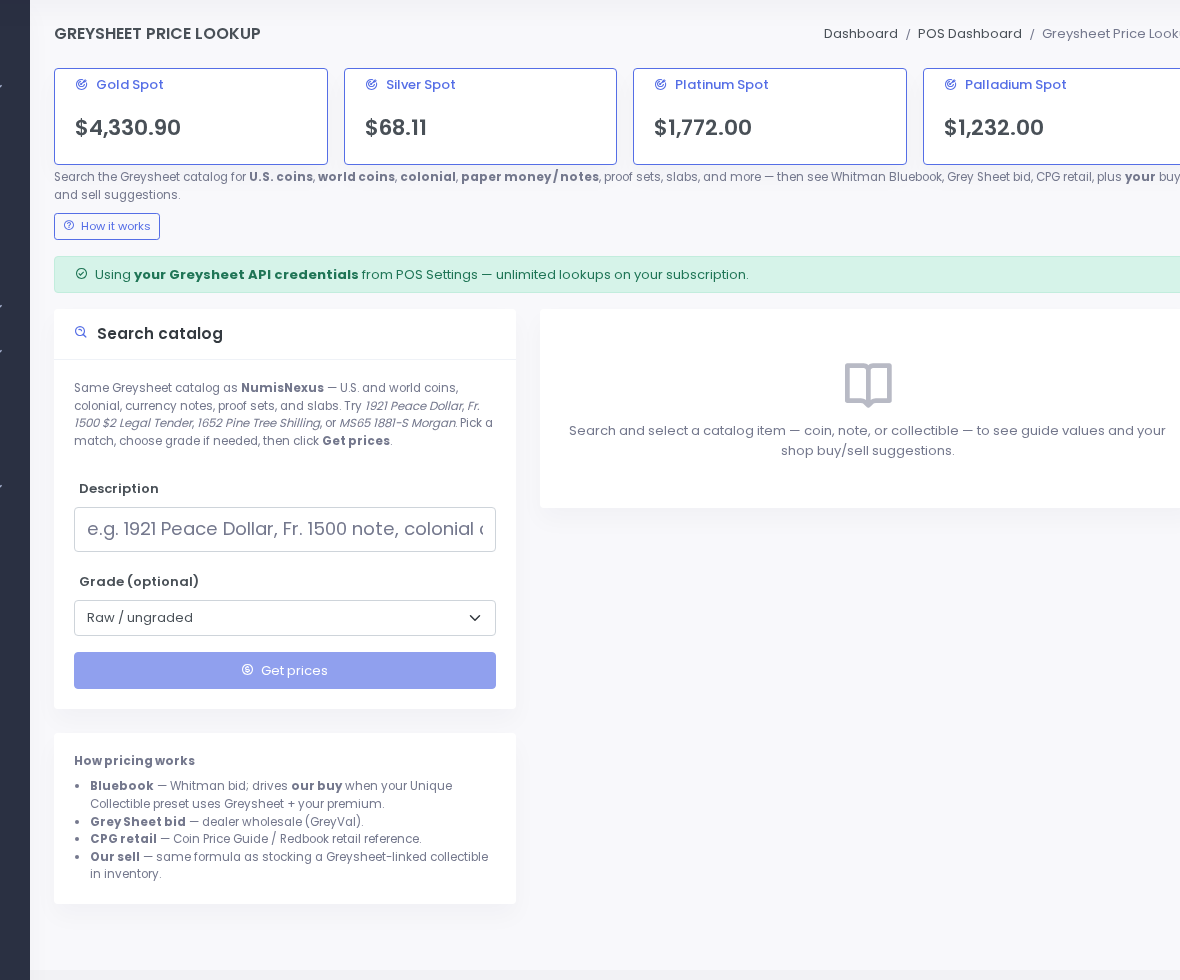
Greysheet — catalog coins, not shelf barcodes. 4 Customer says “I’ll take that” several times — Staff Quick Cart
While you walk the case with a buyer, open Staff Quick Cart (Apps → Staff Quick Cart or Staff Quick Cart QR on a staff phone). Each scan adds to a running list and total. Duplicate scans bump quantity. Tap Send to Checkout when they are done.5 Ring up and take payment — Sales Checkout
Open Apps → Sales Checkout on the register. If staff sent a Quick Cart, tap Load Quick Cart on the blue banner. Scan any remaining items, select payment, and complete the sale. Inventory deducts and the receipt prints.Sales Checkout — final payment and receipt. 6 Switch sale location without leaving checkout
At a show or multi-store shop, click the venue badge in the Sales Checkout header to pick In-Store, Show, or Online. Double-click the badge to jump to the next venue. The Sale location dropdown at the bottom stays in sync.
Screenshots